
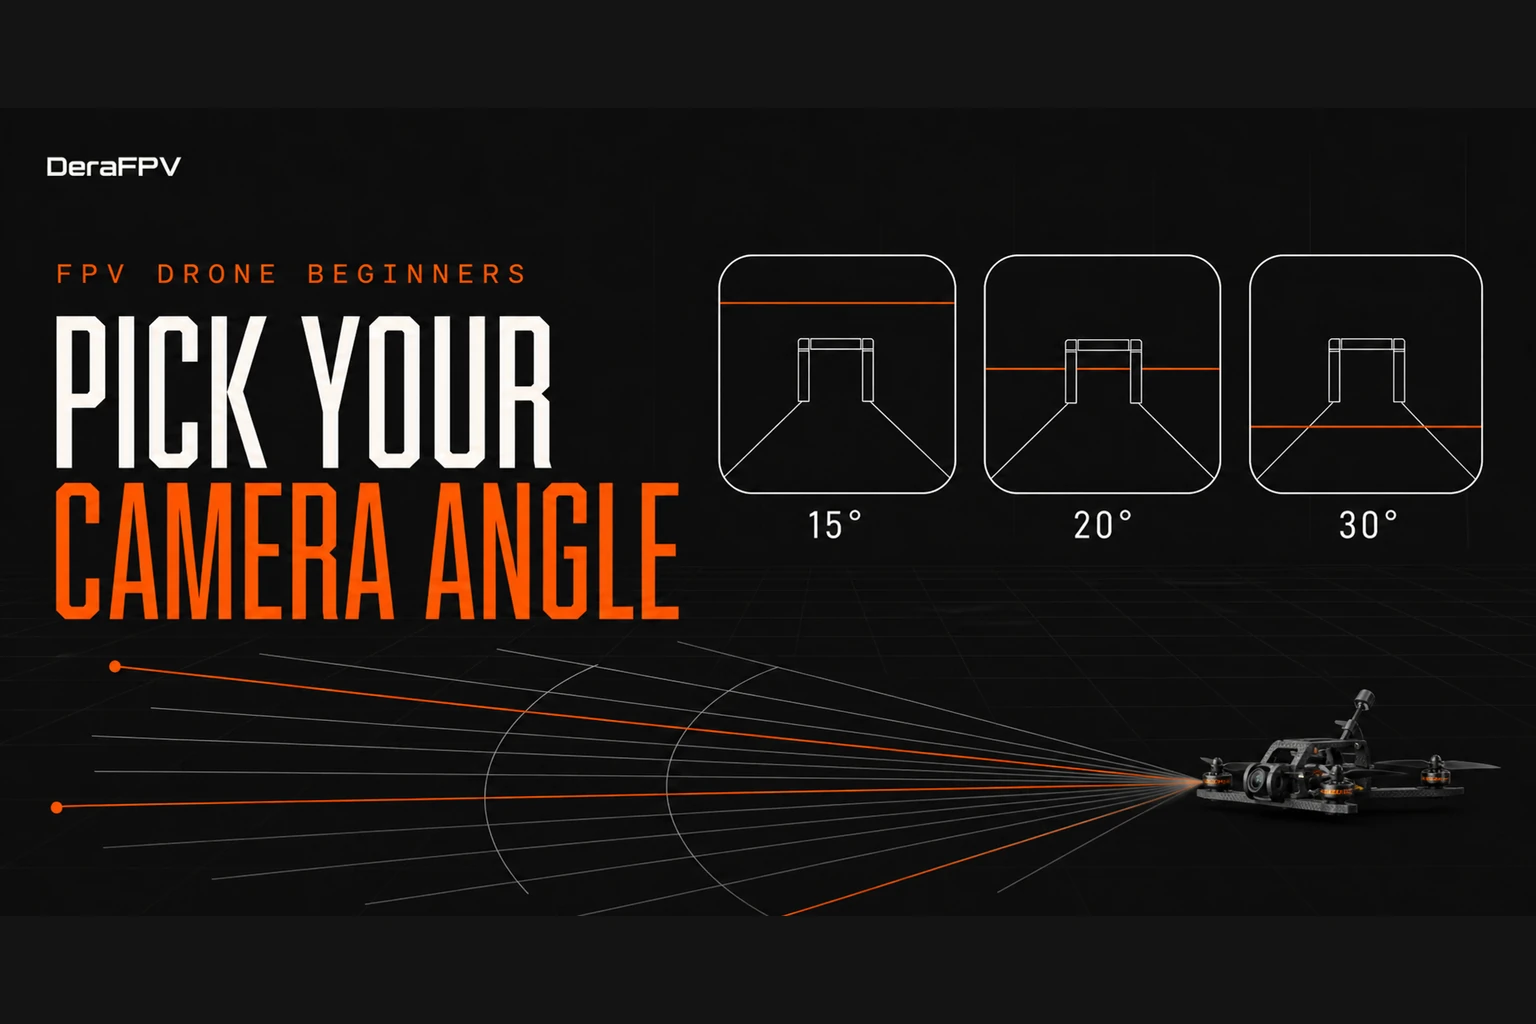
Is a higher camera angle something you earn with practice, or just a setting you can change on day one? I asked myself that after flying at 15° in Uncrashed and Liftoff and then trying 20°. The move felt manageable, which made me curious about what the camera was actually changing and whether 30° was the next step.
There was a second reason I kept digging. I want to film real estate, and slow, careful flying through a doorway asks something different from the camera than a fast racing line does. That raised a fair question: do you even need to change it? The answer depends on whether you're aiming at real estate, freestyle or racing. So this post walks through what camera tilt does to your view, whether your goal calls for a different angle, how I'd choose between 15°, 20° and 30° as your hours build up, and where lower angles still earn their place.
What an FPV drone camera angle actually changes
On a drone with a fixed pilot camera, the camera usually points upward relative to the frame. When the drone pitches forward, that upward-pointing camera comes closer to looking horizontally ahead.
For a simple example, imagine a level drone with its camera tilted up by 20°. Pitch the body forward by roughly 20°, with no sideways bank, and the camera points approximately toward the horizon. Increase the camera tilt to 30° and you need more forward pitch to get the same view.
This is why a higher angle can make slower flying feel awkward. As you level the drone to reduce forward acceleration, the view tilts upward, leaving less of the route ahead in the lower part of the picture. A lower angle keeps that route in view with less forward pitch.
The camera itself doesn't set your speed, because you still control the aircraft through throttle and attitude. Camera tilt only decides which view you get while you fly.
You can see this for yourself below. Pick a camera angle and watch the drone pitch forward until its view is level, and how fast that means you'll be flying.
Do you even need to change your camera angle?
Not always. If you're still learning to take off, hover and turn both ways, the angle you started with is fine, and changing it won't fix a control problem. What matters more is what you want to fly, because the angle that suits a slow indoor walkthrough isn't the one that suits a race.
Real estate. Property filming is slow and deliberate, so a lower angle keeps the route and the next doorway in view without much forward pitch. This is the case where staying low, or going lower than your general-practice angle, is the right call. I cover it in more detail in the section on slow, property-style flying below.
Freestyle. Freestyle mixes slow lines with fast, dramatic ones, so it sits in the middle. A mid angle such as 20° is a sensible baseline, and you can raise it gradually if your flying gets faster and you find yourself looking at too much floor.
Racing. Racing is where a higher angle pays off, because you're flying fast with the nose pitched well forward and a steeper tilt keeps the view ahead level. At the slower speeds most beginners fly, the same 30° shows more sky than path, which makes approaches harder to judge. So if racing is your goal, work toward 30° and above once your lines feel controlled, and start lower while you learn the basics. If you're curious, try 30° on an open simulator map, then return to 20° and fly the same route to compare. Keep the higher angle only if it improves your flying.
If you aren't sure yet, stay at 15° or 20° and let your flying tell you. When you notice the view is consistently too high or too low for the kind of flying you're doing, that's the signal to change it.
Which angle to use: 15°, 20° or 30°
Here is how I'd match camera angle to the learning stage. Treat the hours as a rule of thumb and move up when your flying feels controlled, not when a number of hours has passed.
| Camera angle | Rough practice stage | When I'd use it | What to watch for |
|---|---|---|---|
| 10°–15° | First sessions, around 5–15 hours | Slow routes, broad figure-eights and learning the controls | Can you keep the next opening in view while making small corrections? |
| 20°–25° | Around 15–40 hours, as the basics become more comfortable | General practice and linking turns; start at 20° | Can you link turns without rushing or repeatedly gaining height? |
| 30° and above | Later, when faster lines feel controlled | Faster routes and racing | Does the extra tilt improve your forward view, or make approaches harder to judge? |
My own move to 20° came around the 30-hour mark, a little later than the table suggests. After my first 30 hours across Uncrashed and Liftoff, I could get through easy maps from start to finish roughly 70–80% of the time. Medium maps were a different story, because I still had to think about throttle, pitch, turning and height at the same time.
Why 20° is a good baseline
It is a small step up from 15°, so the controls still feel familiar. To judge whether you're ready for it, ask whether you can approach a turn deliberately, see the exit and keep a reasonably steady height. If every corner turns into a rushed recovery, stay where you are. You also don't need to reach 30° by a particular hour, and plenty of pilots never need to.
Lower angles for slow, property-style flying
Real-estate filming is the reason I still use lower angles. A property tour has to give the viewer time to understand a space, so the drone moves slowly, and slow flying is where a high camera angle works against you.
On an indoor or warehouse simulator map, start at 15° and fly a short route through a doorway, around a corner and toward the next room. Repeat the same route at 10° and compare how clearly you can see the next opening at your intended pace. Check whether the doorway stays in view and whether you can make the corner without a sharp correction.
A sweeping exterior line doesn't need the same angle as an indoor walkthrough. For a faster outdoor-style pass, compare 20° with a slightly higher setting and let the framing guide the choice.
My plan is to keep most general practice at one familiar angle and add a short block of slower navigation. For example, spend 20 minutes at 20°, then 10 minutes at 10°–15° on a simple property-style route. Save separate presets if your simulator supports them.
Keep camera tilt, field of view and rates separate
It's tempting to change several settings after a frustrating session. If you change the camera angle, drone preset and rates together, it becomes difficult to tell which change helped.
| Setting | What it changes |
|---|---|
| Camera tilt | The direction the camera points relative to the drone |
| Field of view, or FOV | How much of the scene fits into the image |
| Rates | How quickly the drone is commanded to rotate for a given stick input in rate-based flight |
FOV and the apparent scale of the environment affect how fast flying looks. Changing the FOV can make the same flight feel different even when the drone's actual speed hasn't changed, so keep it fixed while you compare camera angles. Keep the same drone and flight mode too, and change one setting at a time. If 20° feels better than 15° on one familiar route, repeat it before deciding.
Still setting up? My FPV drone simulator guide covers the simulator choices, and my FPV drone radio controller guide covers the controller setup.
How to change your FPV drone camera angle in Liftoff
In Liftoff, the up and down arrow keys adjust the camera angle, and the developers confirm this in their explanation on Steam. The simplest routine is to set the angle with the arrow keys before you start flying, then check the displayed value before each run. A new drone preset may start at a different angle, so it's worth checking whenever you switch.
What helped me alongside the right angle
Camera angle is one part of learning, and these are the other choices that made the biggest difference for me.
Use Free Race in Uncrashed before ranked. Free Race lets you learn a route with your own setup. Ranked races use the standard 5-inch race preset, so the drone may handle differently from the one you've been practising with, which adds another difficulty before you're comfortable with the controls. This is covered in the Uncrashed ranked-race setup discussion.
Start in Angle mode. Angle mode brings the drone back towards level when you centre the pitch and roll sticks, which gives you less to juggle while you learn throttle control and basic turns. You still manage your height with the throttle. It is separate from camera angle: tilt changes your view, while Angle mode changes how the drone responds to your sticks.
Move to Acro when you can take off, follow a simple route and turn both ways comfortably. Acro doesn't level the drone when you centre the sticks, so you learn those corrections yourself, and it is the mode I now do most of my practice in. Keep your current camera angle when you switch, so you're only learning one new thing at a time.
Practise medium tracks in small sections. Instead of repeating a full lap, pick one problem such as arriving too fast, looking at the gate too late or climbing as you turn, and work on that section alone. A clean entry and exit tell you more than one lucky lap.
Before you increase the angle
Check whether you can:
- Follow a familiar route at a deliberate pace.
- Turn both ways without large height changes.
- See the next opening early enough to line up for it.
- Repeat a difficult section with fewer last-second corrections.
If you can do all four at your current angle, a small step up is worth trying, and if you can't, more practice at the same angle will help more than a bigger number.
If you're practising in Uncrashed or Liftoff, share your camera angle and the move you're working on in the Nigerian drone Telegram community. Include the map and drone preset so others can try the same route.